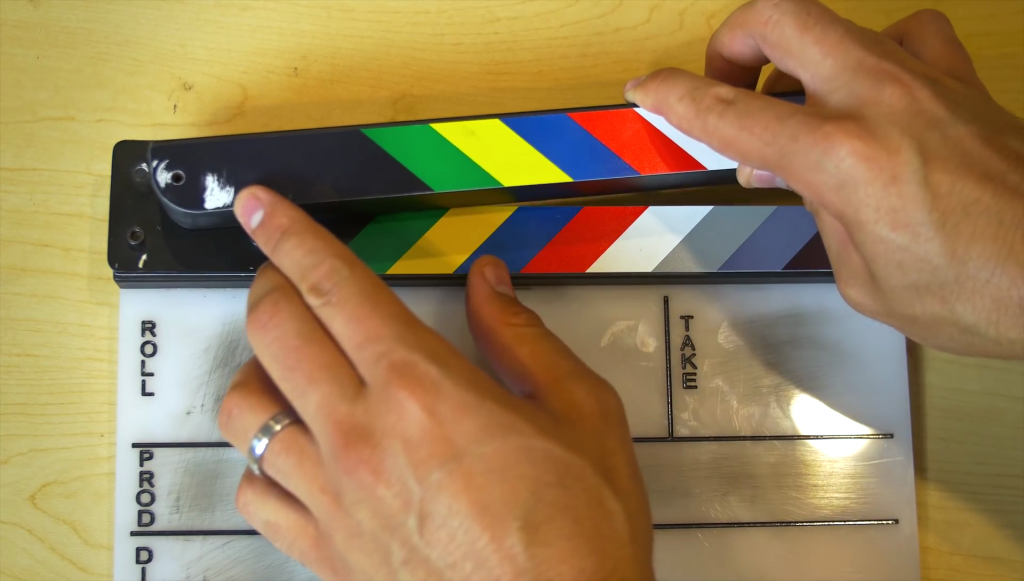
Ah yes, to create your own clapperboard can be a thing of prestine beauty and the start of the journey in unadulterated bliss for movie making.
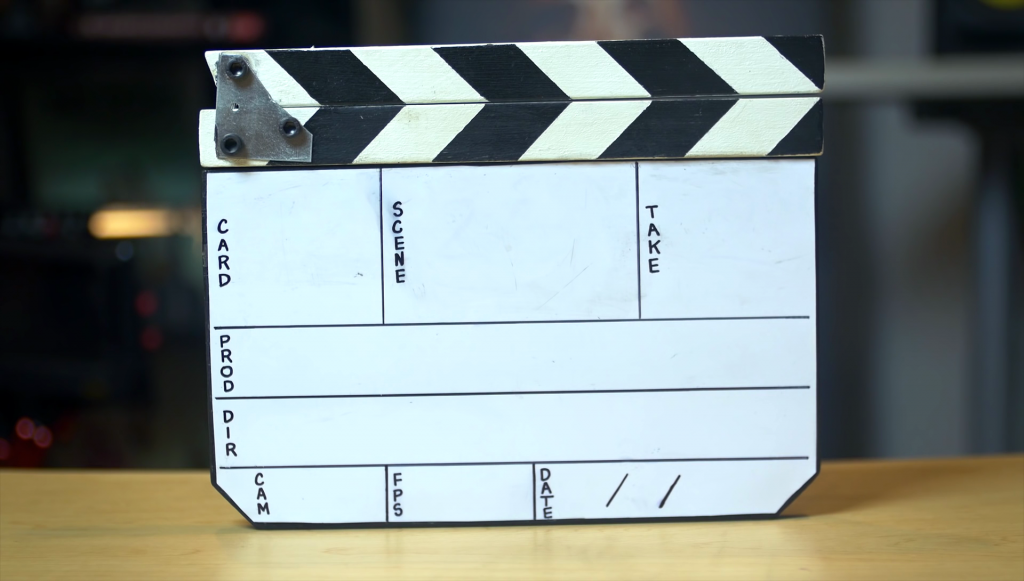
When it comes to the synchronization of video and audio in post-production, the clapperboard is the most important tool. It is a device used to designate and mark particular scenes and takes recorded during video production. While you can purchase a clapperboard for roughly $10 US or more online, why not try to make one for yourself (and with the materials you get, a few more in case it’s lost)?
For one thing, it’s actually cheaper to make your own clapperboard than purchase one. In addition, you can customize it to say anything you want to say. Obviously, you won’t be able to customize a clapperboard if you actually bought it. And most importantly, a DIY clapperboard will be of a much higher-quality than the one you can purchase. It will be wooden (as opposed to plastic), thick, very durable and very sturdy.
To make your clapperboard, you’ll need the following:
- A square wooden dowel rod (make sure to get the largest one you can find)
- A piece of plywood
- Some bolts with nuts on the end
- Wood glue (find the most durable)
- 2 small, rectangular metal plates (make sure they have holes in them)
- A dry erase board
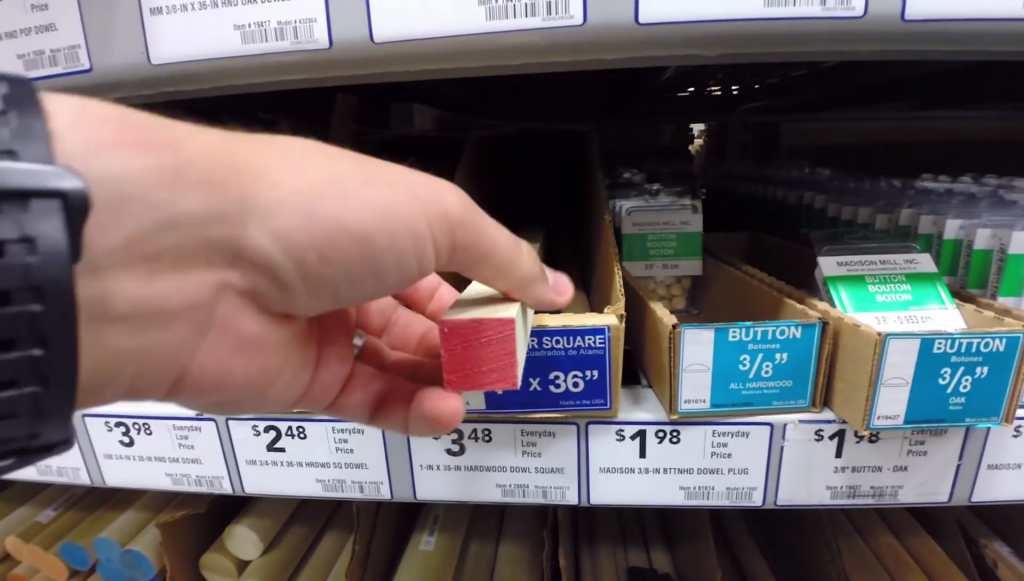
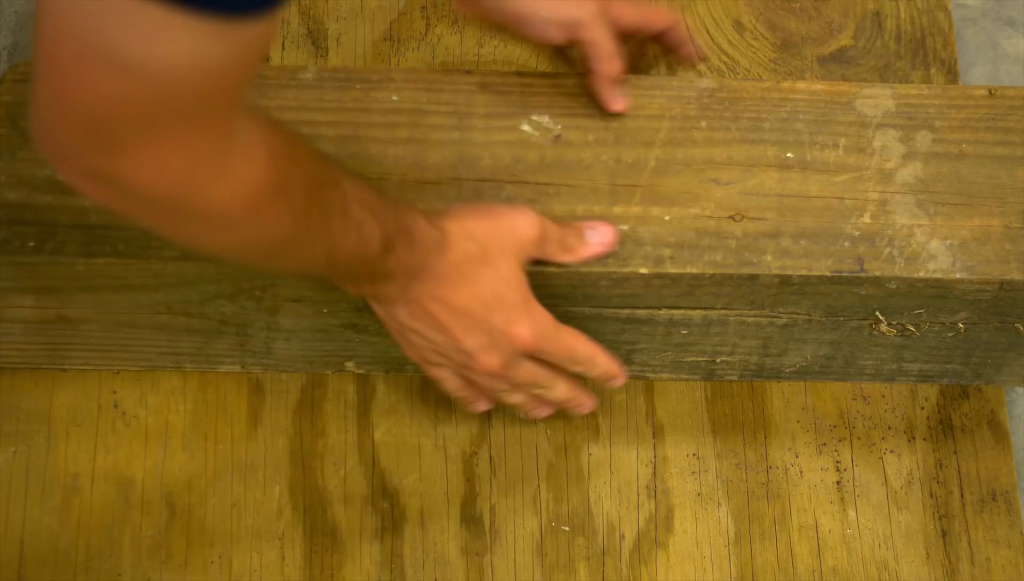
- Create the clapper – Head over to your favourite hardware store, and purchase a dowel rod. Now the standard size for clappers is 11 inches long. If you bought a long-enough dowel rod, cut it into two 11-inch pieces.
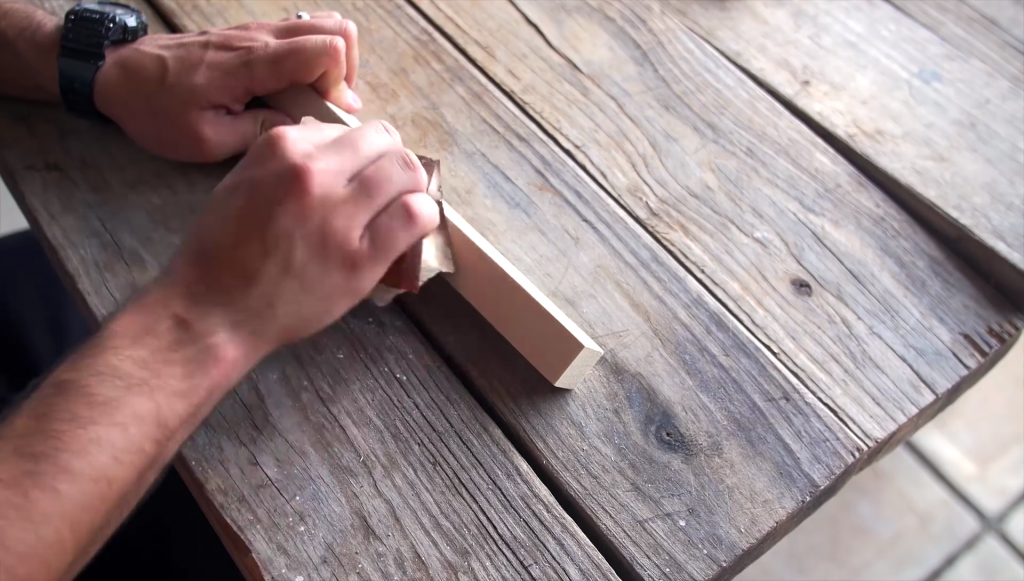
Use a sandpaper to smoothen out the areas of the pieces of wood where you know you’ll be touching when you’re using your still-to-be-developed clapperboard.
2. Since the two pieces of the clapper will be moving up and down and rotating, they actually won’t work the way they are together. The top piece actually has to have a small cut in it, so it can rotate properly. On a normal plastic clapperboard, the top piece is rounded on the edge, which makes it able to move up and down.
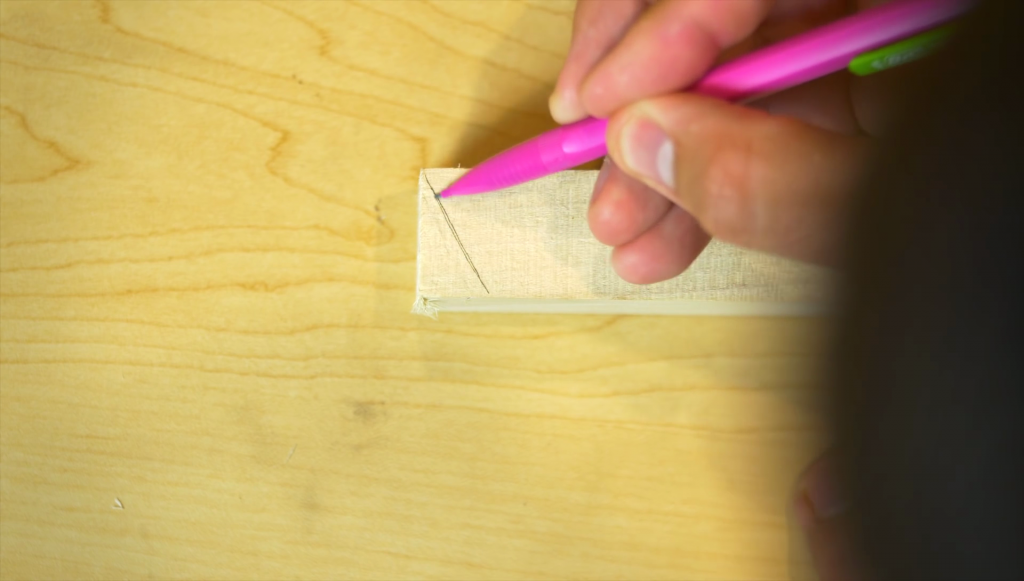
With regards to your clapperboard, the edge doesn’t need to be rounded. What you can do is make a triangular cut or slightly rounded cut from the top of the wooden stick. If that’s not enough, cut a bit more from the edge of the wooden stick until it moves up and down more naturally.
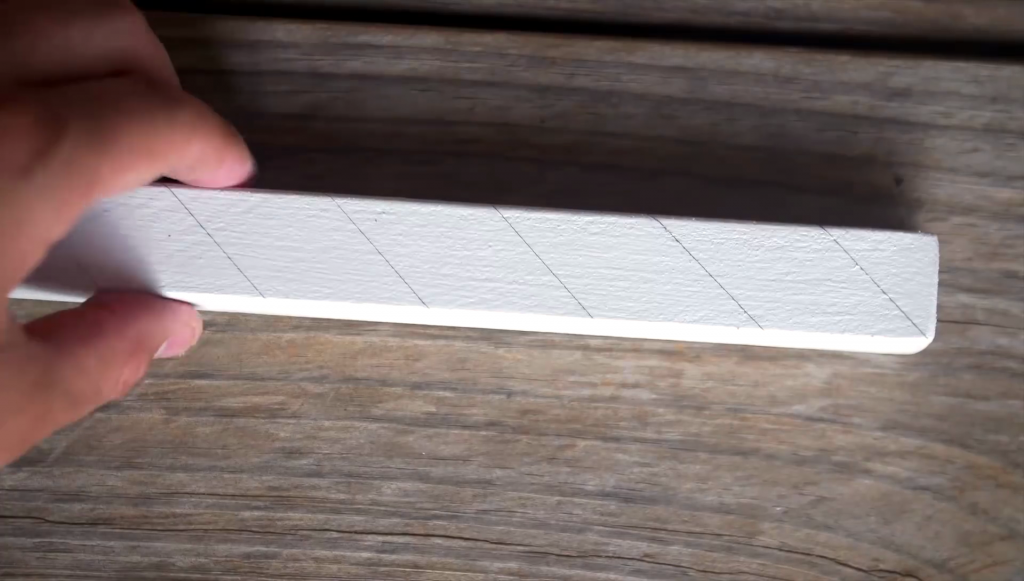
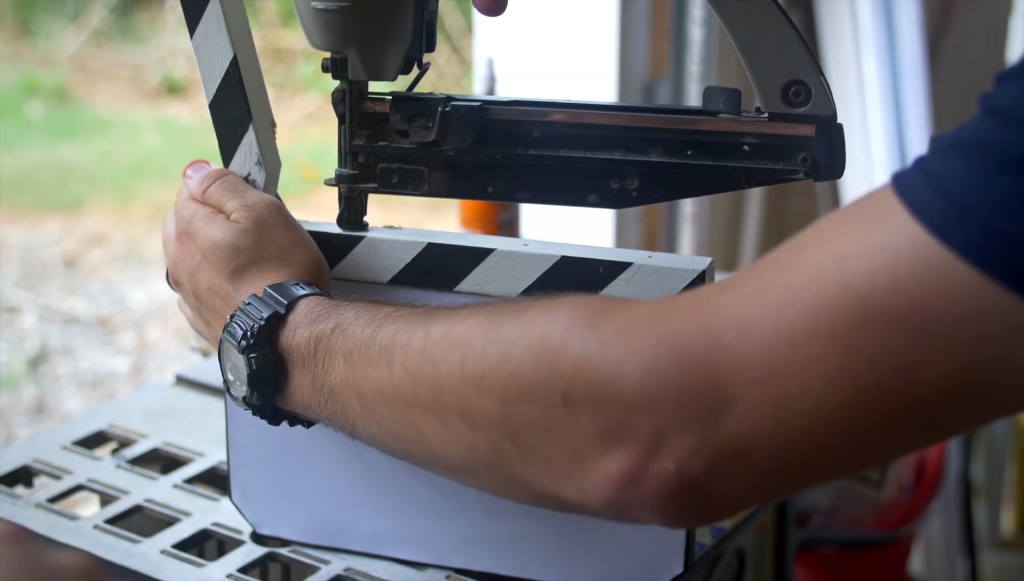
3. Now we want our clapperboard to look as professional as possible, so the clapper needs to be painted. First, paint the two wooden sticks completely white. When the paint is dry, begin to draw lines all the way down each stick at a 45-degree angle.
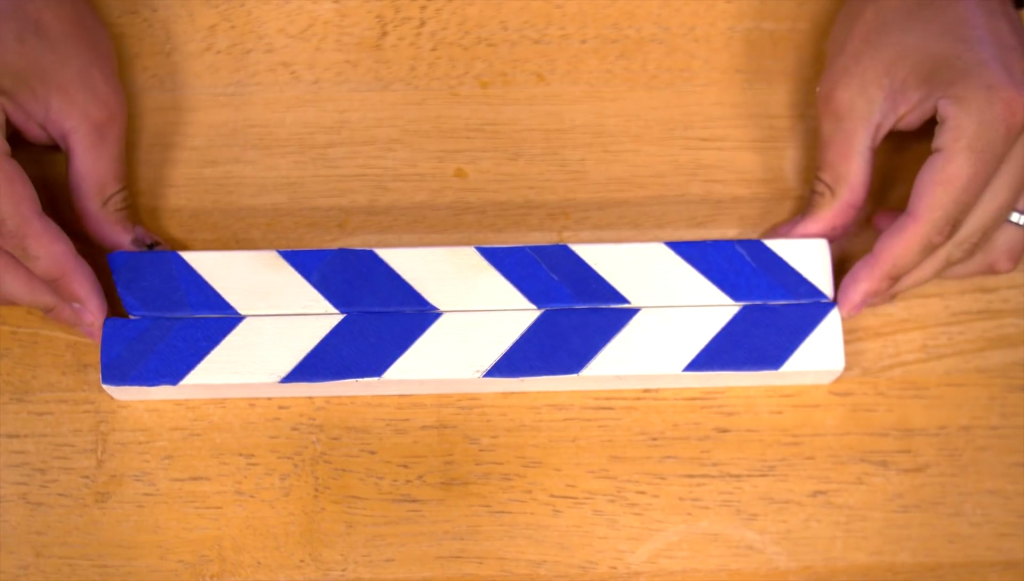
4. Unless you’re a skilled painter, you can paint the black bars on the wooden sticks yourself. But if you’d much rather be safe than sorry, we recommend sticking pieces of painter’s tape over the areas where you want to stay white. Paint each stick completely in black, and remove the Painter’s Tape after the paint has completely dried.

Sometimes the black paint may bleed through the white sections of the wooden sticks. Simply use a small paintbrush and touch up the white sections a bit to make them look more presentable.
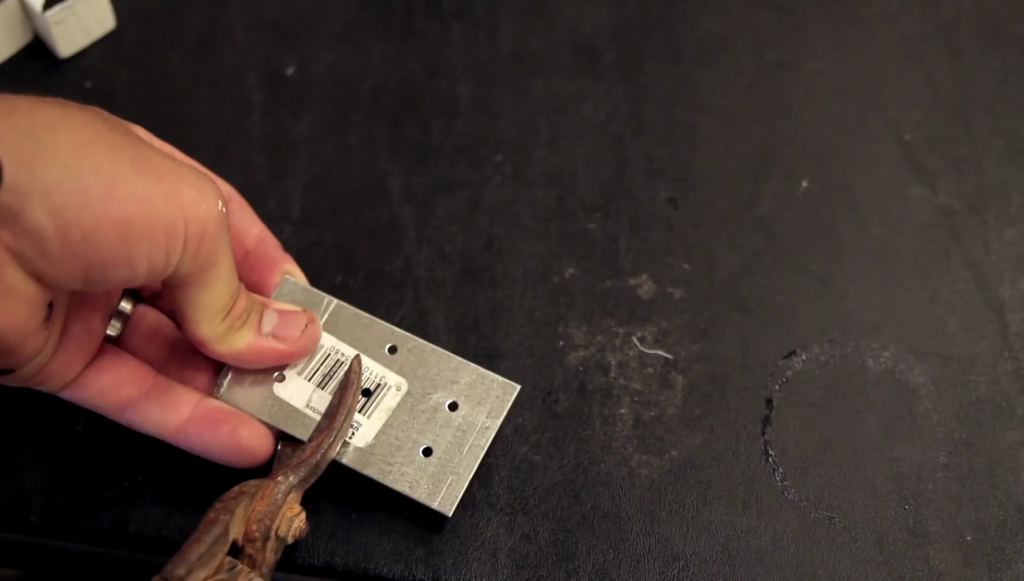
5. Get the two rectangular metal plates and three bolts with nuts at the end. With the two clapsticks, we’ll need one hole at the very top and two holes at the very bottom. The metal plates are meant to be stuck to the sides of the clapsticks, but due to their length, they’ll have to be cut first. The plates are quite thin enough to be cut with either a saw or pliers.
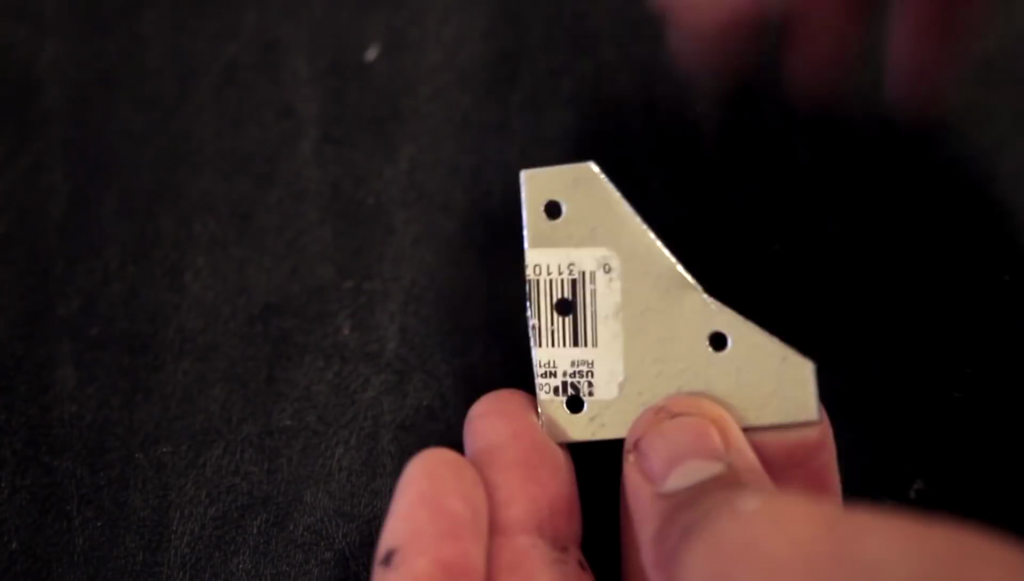
6. Cut off a piece of each metal plate, where one hole is at the top and two holes are at the bottom, and at an angle just enough that you don’t cut yourself when lifting the top clapstick up and down.
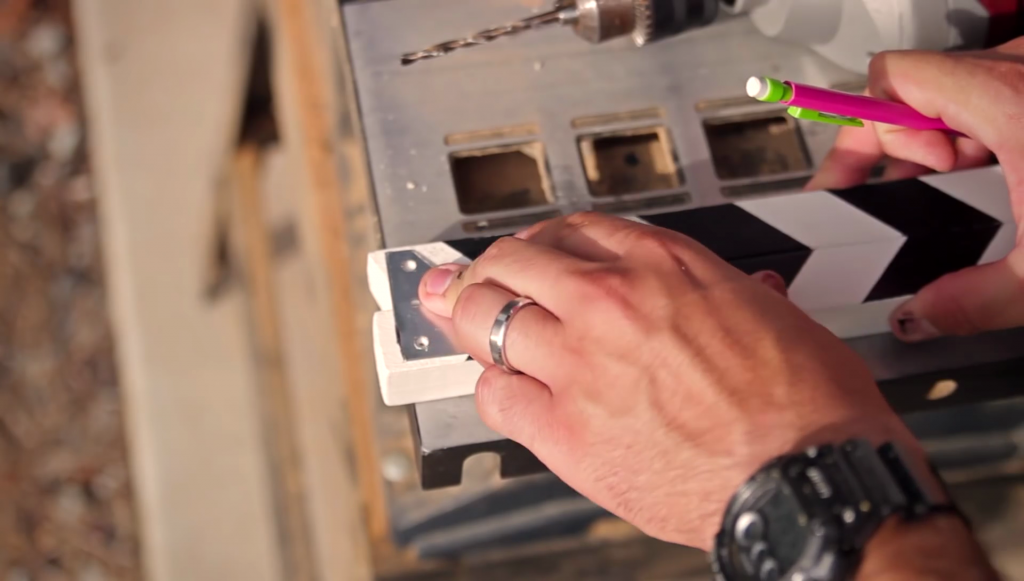
7. Place the clapsticks together, one above the other, and then place the metal plate pieces on top the sticks, near the left end. Make a mark of where each of the three holes on the metal plates appear on the clapstick, and drill through all three holes through the clapsticks – just enough that the bolts can fit.
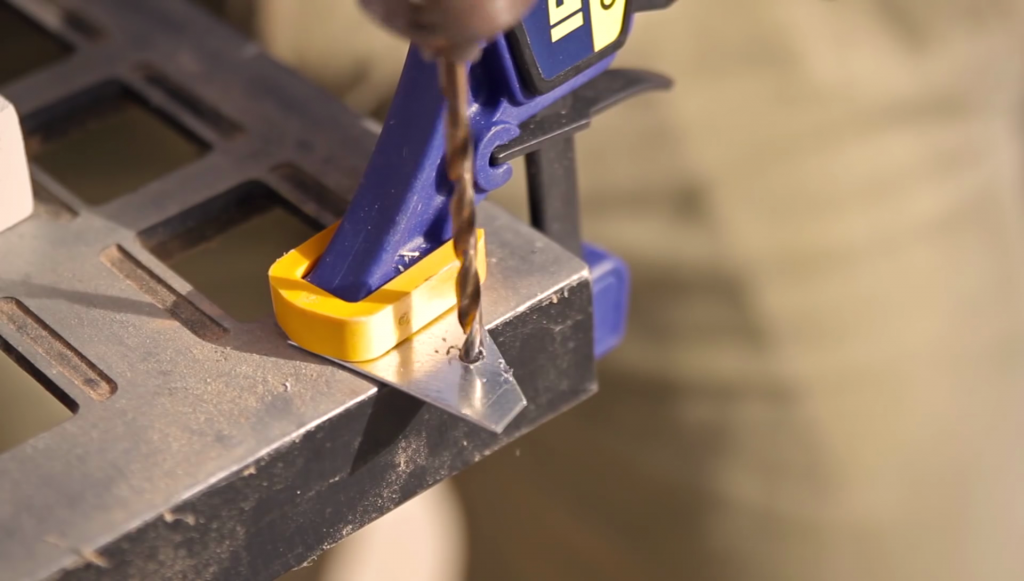
If the bolts are too big to fit through the holes you’ve drilled, then simply widen the holes on the metal plate pieces by drilling them.
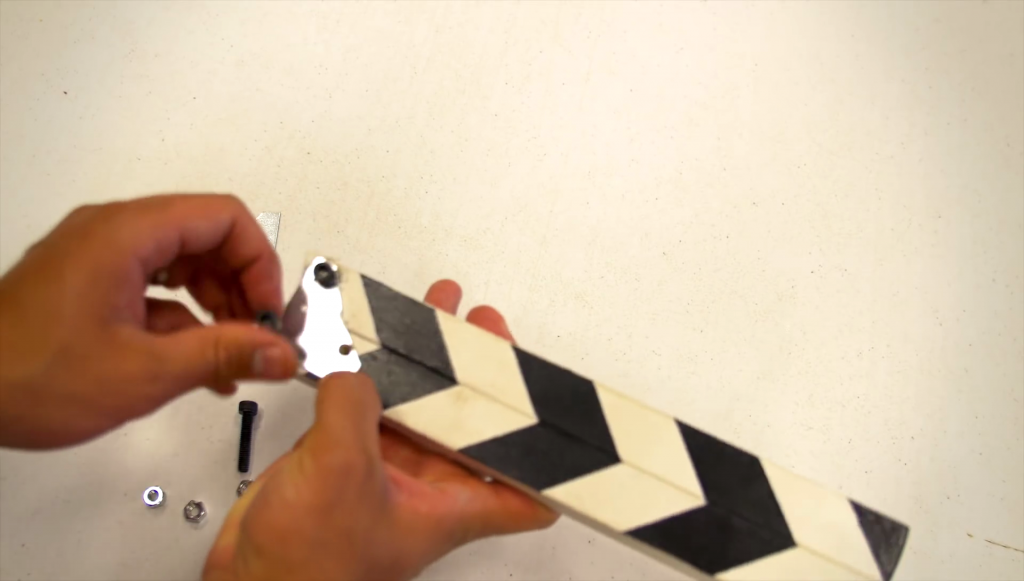
8. Stick the first metal plate piece on the front left of the clapsticks, and then stick the bolts through the holes of both the metal and the wood until they come out the other side.
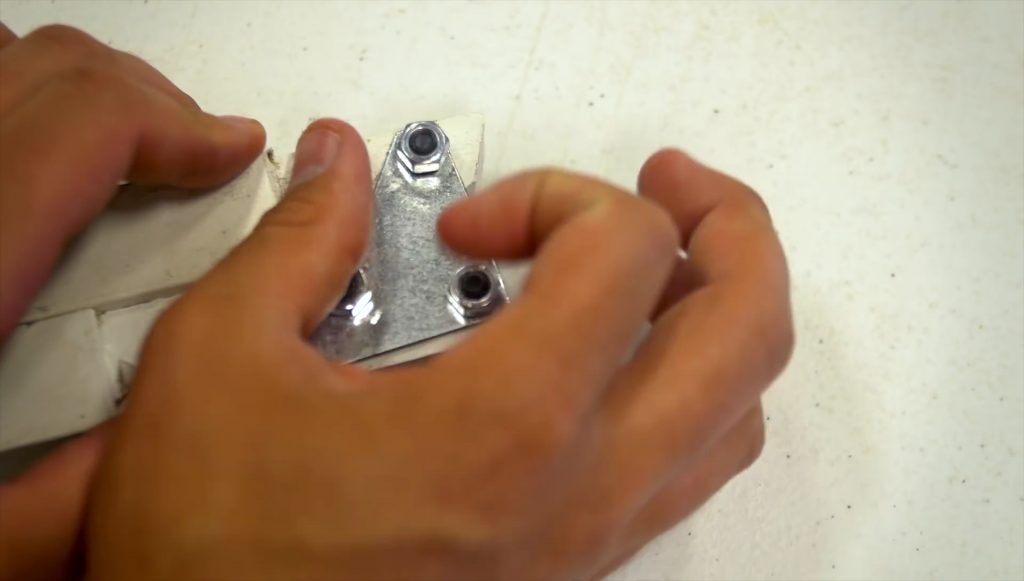
Attach the second metal plate on the back left of the clapsticks, and tighten the bolts.
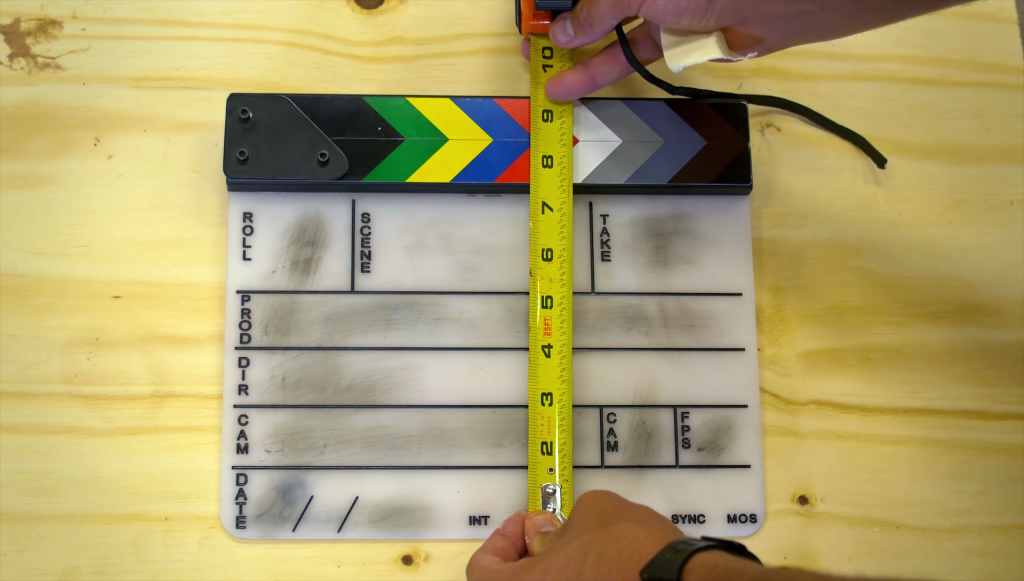
9. Get the big piece of plywood and cut it to the length that you want for your clapper board. Normal plastic clapperboards have the dimensions of 11 inches in width and 9 ½ to 9 ¾ inches in height. However, with your DIY clapperboard, it can be as long and as high as you want it to be.
Usually on clapperboards, there are straight cuts on the edges of the lower portion. You can cut the plywood to have those cuts as well. Use the sandpaper to smoothen out the entirety of the plywood.
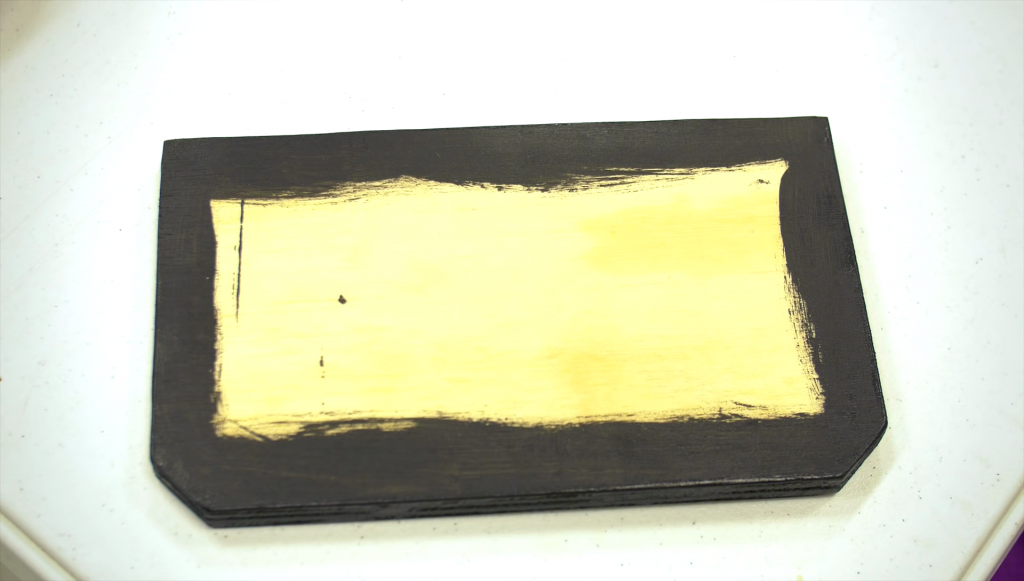
10. Paint the back and sides of the plywood completely black. If you’d like, you can leave the front of the plywood bare or paint a black border around it.
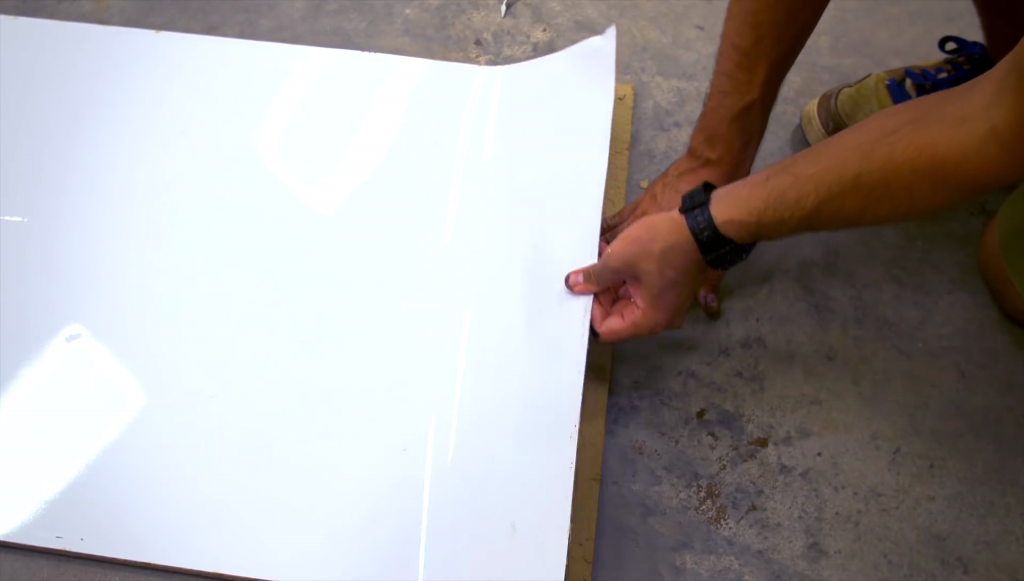
11. Get the dry erase board, and take it apart. When you do, you’ll see that the dry erase board is a sheet of metal. Take caution when removing this sheet.
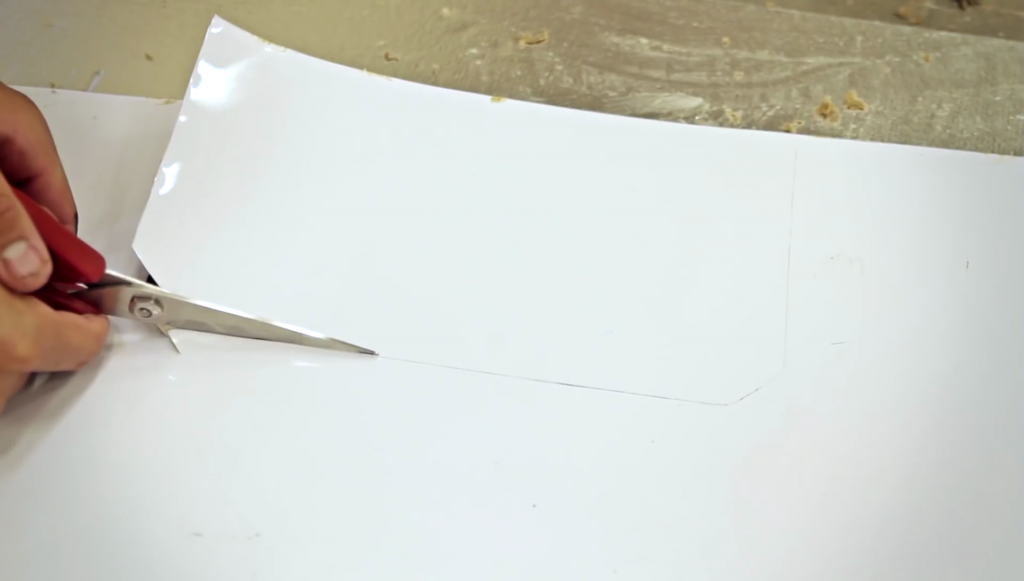
12. Stick the plywood on the dry erase board, and trace an outline of it. Cut along the outline with a pair of scissors (yes, the sheet of metal is THAT thin!)
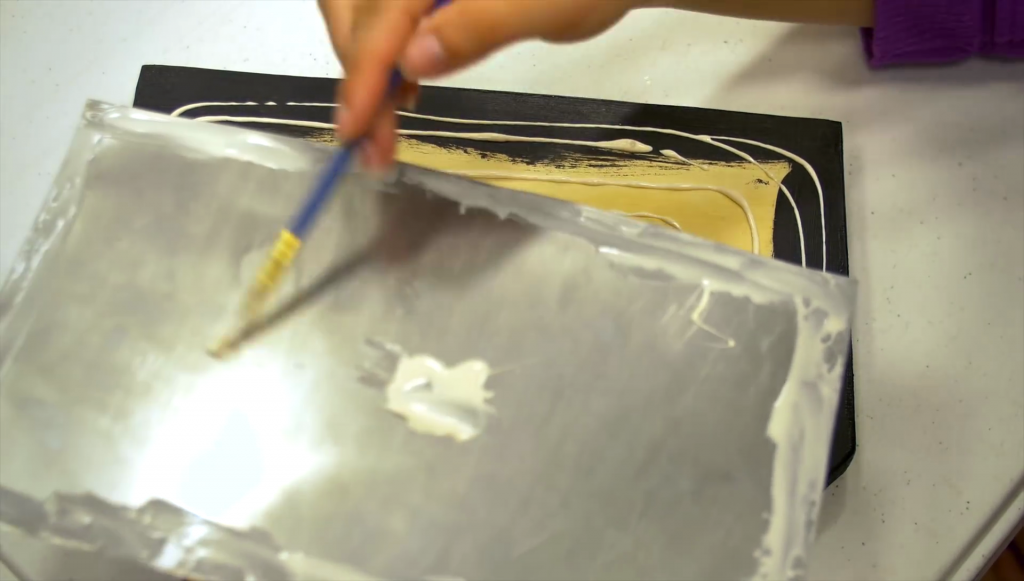
13. Use the wood glue to stick the dry erase board onto the front of the plywood. Also put glue on the edges of the dry erase board to ensure that those edges are stuck onto the plywood properly.
14. Make sure to wipe off the excess glue from the edges of the dry erase board. Place something heavy over the plywood….and wait.
15. When the dry erase board is completely stuck onto the plywood, add some wood glue on top of the plywood, and stick the clapsticks over the top. As a safety precaution, use a nail gun along the top of the lower clapstick to ensure that it remains sturdy.
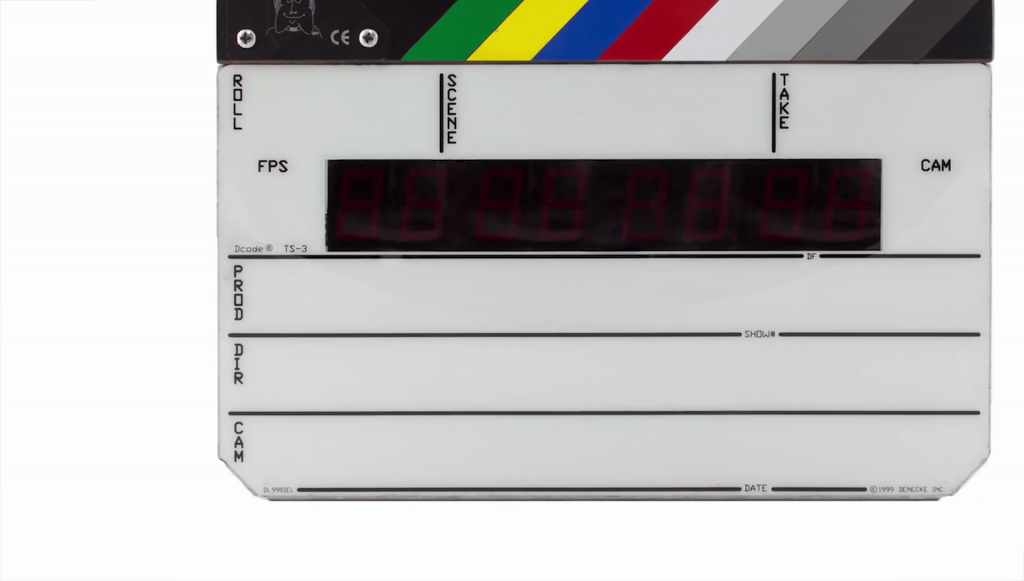
16. As for the front of the clapperboard, you can customize it however you want to. Look at images of other clapperboards, and figure out what you’d like to see on yours.

17. Divide the front of the clapboard into boxes with a ruler and a pencil, and then trace over the lines with a Sharpie marker. Add text to the boxes afterwards, but be careful not to smudge what you’ve added to the dry erase board.
If you want to avoid smudging altogether, we recommend using a paint pen instead of a Sharpie marker.
And there you have your very own clapperboard! What did you think of our DIY tutorial?
Feel free to share your thoughts on our article, and don’t forget to share this article and like/subscribe to our DF Studios Limited Facebook page or join our email list for latest updates on our blog.
PICTURES PROVIDED BY: https://tomorrowsfilmmakers.com/ and www.adafruit.com